


 This past weekend I participated in The Color Run with my friends. It was their idea to make these tutu’s for the run and we all picked our favorite colors and got them ready in a quick afternoon get-together. The run was a blast, and certainly very colorful. I’ve got a ton of pictures/tagged photos on instragram if you want to check it out. But if you’re interested in making the tutu, here’s my simple step by step guide.
Step 1: Supplies
You need tulle, elastic, and scissors. For these tutu’s, I got 2.5 yards of tulle (1 of light green & 1.5 of dark green) and a yard of small elastic. All the supplies were easily acquired at Jo-Anne’s, or whatever place you have that’s similar. 
Step 2: Cut The Tulle Into Strips
When I got the tulle, it already came creased in half. I just laid out the tulle flat while still folded and cut it into strips. The width of these strips will determine how fat your tutu pieces are. I just cut mine, but since it’s a rip tutu, you can also rip the tulle into strips for a more ragged look. If you want to rip them, my friend found it easier to make a small cut and then rip from that. Test you tulle because one direction will rip much easier and neater than the other.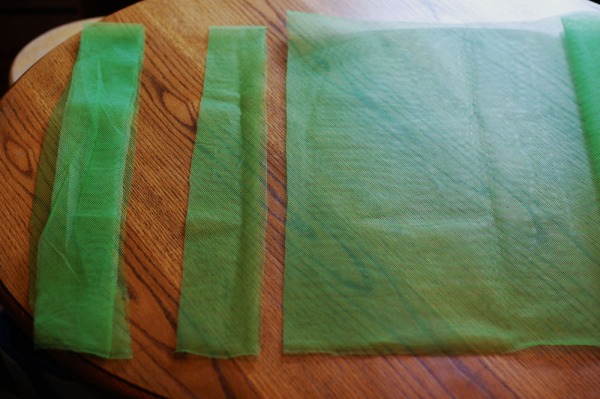
Step 3: Cut The Strips In Thirds
Now you get to cut up the strips. This will determine how long your tutu is going to be. I wanted a tiny tutu, so I unfolded the strips and cut them into thirds. My friends wanted longer tutu’s, and cut their’s just in half. However, they ended up needing to go get more tulle to finish filling out the skirt. 
Step 4: Tie The Elastic
After you have all of the tulle cut into strips you’ll need to create the band to attache the strips too. I took the elastic and wrapped it around my hips. I knew I would be running in this tutu so I wanted to have it sit at the top of my running shorts. So measure it wherever you plan to wear the tutu at. Make sure that when you are measuring it you pull it tight, but not fully stretched. Then cut the elastic, leaving just enough room on the ends to make a knot. 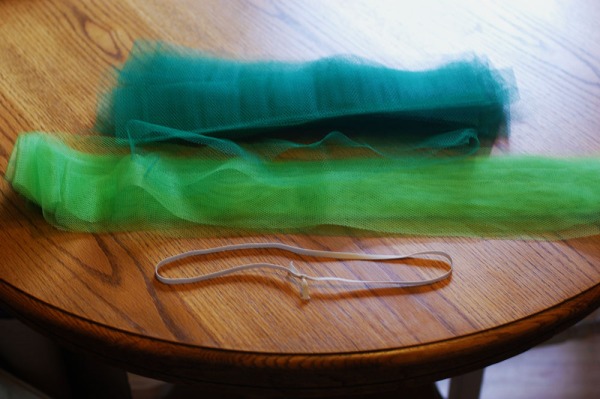

Step 5: Attach the Tulle Strips To The Band
To attach, I folded the strip in half. Next, I put my fingers through the loop and pulled the tail of the strip into and through that loop. It’s called a Lark’s Head Knot, in case you need some better explanation.


Step 6: Tie Tie And Keep Tying
This is the most time intensive part. I tried to evenly distribute the ties along the elastic ring. With a little tugging, you can slide the knots along and around to make more or less room for more strips.
For this tutu, me and my boyfriend (whom this was made for) both tied for 6-10 mins. But after you get all the strings attached, you’re done! 
I really loved having these for the run, and the tutu’s were so easy to make! I think the full project took around a half hour, and that’s just cause I’m meticulous with my cutting and tying. 
Have you every tried making one of your own tutus? Anyone run The Color Run?

